
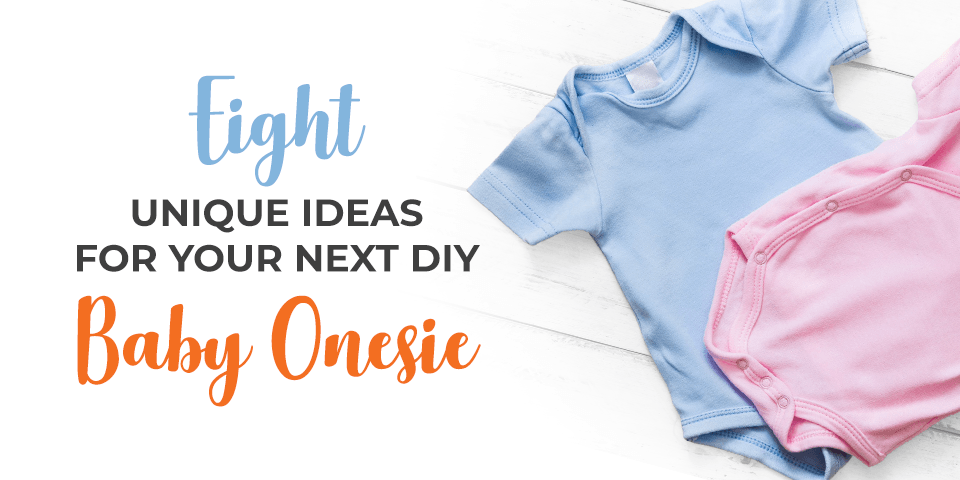
Eight Unique Onesie Design Ideas for Your Next DIY Baby Onesie
Quick Links:
- Lovely in Lace
- Baby Birthday Celebration
- Very Vinyl Designs
- Appealing Appliques
- Totally Tie-Dye
- Shine On
- A Dapper Baby Boy Design
Whether you are expecting a bundle of joy or looking for a unique gift for an expecting parent, DIY baby clothes are a fun way to celebrate a little one. Baby onesies are especially easy to personalize and turn into your own unique work of art.
One of the best canvases you can choose to create your DIY baby onesie is the organic onesie. These onesies are made of 100% certified organic cotton and will provide your baby with the softness and flexibility they need. These onesies also come in seven different colors for ultimate DIY-ability.
It is easy to create a custom onesie, especially when your order from Cotton Creations. There is no minimum requirement to order, so you can purchase as many, or as few, onesies as you need and start designing away!
DIY Baby Onesie Ideas
The great thing about using a cute baby onesie as your blank canvas is that the design possibilities are endless. It is easy to create something unique for a boy or a girl — or even something gender-neutral if you or the parents-to-be do not know what the baby will be.
Here are eight ideas to get you started:
1. Lovely in Lace
Lace is a beautiful material that makes it simple to add a little elegant, lacy flair to craft the perfect DIY baby onesie for a little girl.
To create do-it-yourself baby onesies with lace, you will need these materials:
- Onesie
- Approximately seven yards of lace
- Ribbon to use for facing
- Two buttons
- Glue gun
- Needle plus thread the same color as the lace
- Scissors
- Coffee can
Follow these steps to create an elegantly adorable lace-adorned baby onesie:
- Lay out the plain onesie.
- Cut off the top of the onesie so you are cutting off half of the sleeves and the neckline.
- Cut off the sleeves entirely, making this a sleeveless onesie. You will be adding straps with the lace.
- Put the onesie on something with the same circumference as the baby, such as a coffee can. This is a crucial step because you will now be gluing the lace onto the onesie, and lace will not stretch.
- Circle the lace all the way around the onesie, starting at the bottom. Keep gluing circles up the onesie. You will only need to leave about a half-inch of space between each layer of the lace. Each piece will overlap the one below and cover any gap between the material.
- Glue pieces of lace as far around as you can. Stop once you get to the armpit area of the onesie and cannot make complete circles any longer.
- Use the ribbon to cover unfinished edges around the collar and sleeves. Attach the ribbon with the hot glue.
- Sew two buttons on the top of the lace at the back of each shoulder — you can use these to connect the straps and make it easier to get the onesie on and off.
- Sew the two ends of a piece of lace onto the front of the onesie where the sleeves were so you can make the straps.
- Add an extra loop of lace or a small hole to secure the traps to the buttons on the back of the onesie.
2. Baby Birthday Celebration
One of the best ways to celebrate the milestones during a baby’s first year is to craft DIY baby shower gifts that represent those important events. There is a variety of fun transfers you can iron on to onesies to share those milestones. Etsy is a great source for designs that can be easily applied using transfer paper. If you have artistic skills, you can create your own designs as well.
Here are the supplies you will need for onesies decorated with iron-on transfers:
- Onesie
- Scraps of fabric
- Iron
- Heat-n-Bond material
- Pen
- Scissors
With your materials ready, follow these steps to customize a baby onesie:
- Cut out the pieces of Heat-n-Bond material so they are the same size as the scraps of fabric. Iron the heat bond with the rough side against the wrong side of the fabric.
- Draw a square on one of the pieces of the material using a pen.
- Cut out the square.
- Draw a number on another piece of fabric. Make sure the number is the right size so it will fit on top of the square.
- Cut out the number and place it on the square.
- Peel away the Heat-n-Bond from the number and iron it on the square. Then, peel the Heat-n-Bond from the square, and iron both pieces to the onesie.
- Make as many of these pieces as you want by using different numbers for different onesies to represent all of the months of a baby’s first year of life.
- Ensure the appliques will last through many washings by sewing them with thread that matches the applique and a straight stitch.
3. Very Vinyl Designs
By using heat vinyl transfer sheets, you can create unique onesies and make perfect DIY baby gifts. You can find vinyl sheets for a minimal cost from various sites.
With that in mind, here is everything you will need to create one-of-a-kind onesie designs with vinyl:
- Onesie
- Heat transfer vinyl
- Scrap cloth
- Iron
- Silhouette machine, used to cut intricate designs for scrapbooks and vinyl décor out of fabric and vinyl
- Rhino cut file download, or your design of choice
Follow these steps to create a custom onesie with vinyl:
- Download the rhino cut file, linked above. This will be the pattern you will use your silhouette machine to cut out.
- Cut out your rhino design on heat-transfer vinyl with the machine. Make sure the vinyl side of the heat transfer faces down on the cutting mat when cutting out the design.
- Place the rhino on the onesie or cut out multiple and create any pattern you want. Alternating between right-side-up and upside-down will create a unique design. The rhinos should be placed on the onesie so that the side with the plastic covering is facing up.
- Put your iron on a cloth setting. After you put a cloth over the onesie, covering all of the rhinos, press the iron down for 60 seconds on the cloth. Do this over all parts of the onesie until heat has been applied to all of the rhinos.
- Remove the clear plastic covering that was on the rhinos to reveal your finished product.
4. Appealing Appliques
Not artistic? No problem. You can download an image to create your applique. For this project, we will use a duck image, which you will find below.
Prepare to create the cutest onesies with these materials:
- Onesie
- Silhouette machine
- Fabric interfacing, a lining that adds stiffness to fabric and can be sewn in or ironed on
- Sewing machine
- Scissors
- Fabric to create your applique
Use these steps to add appliques to onesies and bring your designs to life:
- Create a design for your silhouette machine by downloading an image such as this very simple duck image for free. You will need to download Silhouette Studio on your MAC or PC to open the duck image file.
- Iron the interfacing onto the fabric by placing the rough side of the interfacing on the back of the fabric. Only leave the iron on for a short time, and make sure to check it after intervals of five seconds to see if the interfacing has bonded to the fabric.
- Take the liner off of the interfacing by peeling it off.
- Install the fabric blade in the Silhouette machine.
- Put the ironed fabric with interfacing on the mat of the Silhouette machine so you are cutting the fabric with the interfacing side down.
- Cut out your duck design and iron it with the interfacing side down onto the onesie. Remove the iron after five-second intervals to see if the design is now set on the fabric.
- Sew the applique on the onesie to reinforce it. Use a zigzag stitch to achieve the best results and carefully follow around the curves of the applique.
- Iron the appliqued design once more to soften any of the rough edges.
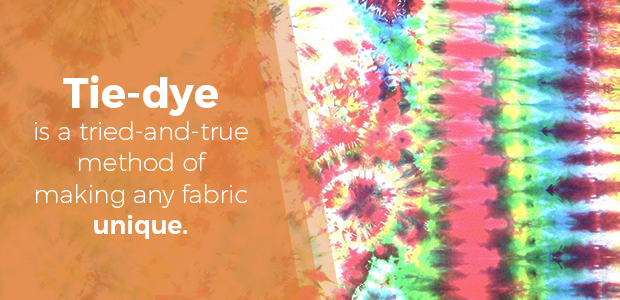
5. Totally Tie-Dye
Tie-dye is always a tried-and-true method of making any fabric unique because no two fabrics will turn out the same. You can make a tie-dyed onesie as a baby shower gift or host a baby shower where the participants can enjoy tie-dyeing to make a number of unique onesies for the parents-to-be.
Prepare to create unique tie-dyed creations with these materials:
- Onesies
- Rit dye
- Hot water
- Large plastic containers for the various dye colors
- Rubber bands
- Large metal spoon
- White vinegar or salt
- Scissors
- Rubber gloves
- Disposable table cover
- Paper towels
- Bleach cleanser
Steps:
- Prewash the onesies.
- Cover the table with the disposable table cover.
- Pick your dye colors — you will likely want to start with the lightest color.
- Pick colors that, should they run together, create a desirable color.
- Create your desired pattern or design. To create a marble design, gather the fabric into a ball and secure it with rubber bands. If you want to make stripes, fold the fabric either horizontally or vertically, much like a fan. Then wrap the fabric with rubber bands the same distance apart as the stripes you want to create.
- Make the dye according to the package directions after you have donned rubber gloves. Note that the hotter the water, the more vibrant the colors will be.
- Make the colors more intense, if you want, by adding up to a cup of salt to the dye bath for the fabric if it is all cotton. If the fabric of the onesie is silk, nylon or wool, add one cup of vinegar. When adding vinegar or salt, make sure each is dissolved.
- Place the onesie in the container with the lightest dye color and leave it there between four and 30 minutes while stirring occasionally. Take the onesie out of the container when the color is slightly darker than the color you want to achieve as the color will appear darker on wet fabric.
- Continue to dip the onesie in another container without unwrapping it, or cut the rubber bands, unwrap it, rinse in cool water and wrap again as you continue to use all of the colors.
- Cut the rubber bands and rinse the fabric in cool water once you are done with the dye.
- Wash the tie-dyed creations in warm water with mild laundry detergent.
- Clean surfaces and spoons with your bleach cleanser.
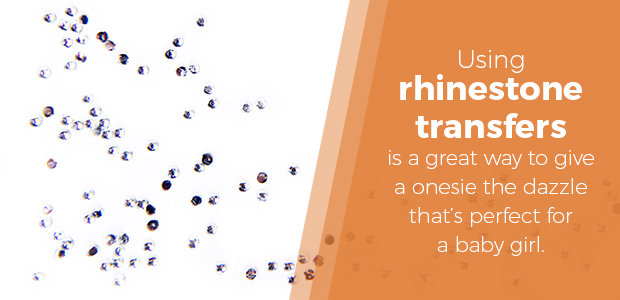
6. Shine On
Using rhinestone transfers is a great way to spice up a onesie and give it the dazzle that is perfect for a baby girl. You can find different shapes such as Minnie Mouse or princess crowns and use the rhinestones to add simple elegance to your DIY baby gifts.
To create a rhinestone onesie, you will only need these supplies:
- Onesie
- Rhinestone transfer
- Iron
- Scrap cloth
With your rhinestone iron-on transfers selected, follow these simple steps:
- Put a cloth on top of the design with the rhinestones backings facing down on the onesie.
- Use the iron on the wool setting and iron for approximately 45-60 seconds. You will know the rhinestones are completely set if when you peel away the transfer tape, all the rhinestones are all on the fabric.
- Turn the onesie inside out, and repeat the same process of ironing from this side. Be sure to wash the onesie inside out so your design will stay on better.
- Turn your onesie right side out again to see your completed design sparkle.
7. A Dapper Baby Boy Design
If you need do-it-yourself baby onesies for a boy, turn a plain onesie into a dapper little outfit with faux suspenders and a bowtie. You can even attach the bowtie with snaps to create interchangeable accessories on this DIY.

Gather these items to create your DIY baby boy onesie:
- Onesie
- Grosgrain ribbon, about an inch wide
- Thread that matches the ribbon
- A fat quarter of fabric for the bowtie
- Thread that matches the bowtie fabric
- Sew-on snaps
- Iron
- Sewing machine
With your supplies ready, follow these steps to create an adorably dressed-up onesie for a baby boy:
- Measure two strips of ribbon that go from the shoulder seam to the top of the leg. Add one inch and cut.
- Fold the edge of one ribbon strip under itself at the leg’s opening and sew using a zigzag stitch with thread that matches the ribbon.
- Straighten the ribbon up to the shoulder, fold the edge under and sew with a zigzag strip.
- Repeat steps two and three with the ribbon on the other side.
- Cut an 18 x 13-inch rectangle from the fat quarter for the body of the bowtie and an 8 x 4-inch rectangle for the bowtie’s center.
- Place the larger piece of fabric right side down with the longer side running left to right and the shorter side going up and down.
- Fold the left and right edge into the center of the fabric so the sides are just touching and press with an iron.
- Bring the bottom edge of the fabric up to the center and press, then fold the top down one inch and press.
- Fold the top edge down almost to the bottom of the fabric and press again.
- Bring both sides into the center, folding so one slightly overlaps the other, then pin and sew where the fabric overlaps.
- Fold the strip for the center of the bowtie by bringing in the long edge about an inch, press then fold and press again to enclose the raw edges.
- Pinch the body of the bowtie in the middle, wrap with the thin strip of fabric and hand sew where the sides of the strip meet.
- Sew two snaps to the back of the bowtie and match them to the onesie, just below the neckline, and attach the other side of the snaps to the onesie.
- Snap the bowtie in place, and the onesie is complete!
create DIY stenciled onesies:
- Cut a piece of freezer paper about the size of the onesie.
- Draw or trace your design with the shiny side of the freezer paper down.
- Place the paper on the cutting mat and cut your shape using the utility knife.
- Iron the paper, shiny side down, onto the onesie, carefully pressing small pieces and details so they stay down.
- Insert the cardboard or aluminum foil into the onesie under your design. This will prevent paint from seeping through the fabric.
- Apply fabric paint with the sponge brush, gently pushing the sponge onto the onesie to avoid moving the stencil.
- Let the paint dry and add more layers if needed.
- Peel away the freezer paper once the paint dries. Add on any details, and your project is complete!

What’s Next? Bring Your Baby Onesie Ideas To Life
If you are now inspired to buy or create unique baby clothes, you might be wondering where to start. We can help. At Cotton Creations, you can find onesies as well as soft baby blankets, cotton baby bibs and even toddler apparel. If you want to customize your apparel, we have design software that will enable you to create a number of easy, beautiful designs for your products.
You can have a baby’s name embroidered onto a blanket or even add a unique image to a bib or organic tee. You will also find baby’s layette apparel as well as other items, such as infant tutu onesies, long-sleeve cotton onesies and organic cotton onesies.
If you have decided you want to customize a onesie or other fabric yourself, you do not need to sacrifice quality if you want to purchase those products in bulk. All of our baby products are soft and made from the highest quality material — because we know they will get multiple washings.
Additionally, our onesies come in a variety of colors designed to resist fading, and they run true-to-size so you can avoid the guessing game of what size to purchase for a quickly growing baby.
Whether you need ideas for hosting a baby shower, expecting mother gifts or baby shower gifts, you can find it right here at Cotton Creations.
You Might Also Enjoy
- 6 Things to Make and Give to New Mothers
- The Benefits of Organic Baby Products
- Your Organic Cotton Baby!
- Simple Gift Ideas for Baby from Big Brother or Sister
- Planning The Ultimate Baby Shower
- 15 Personalized Baby Shower Gift Ideas
- Ten Scary Good Baby Halloween Costumes
SHARE THIS: