
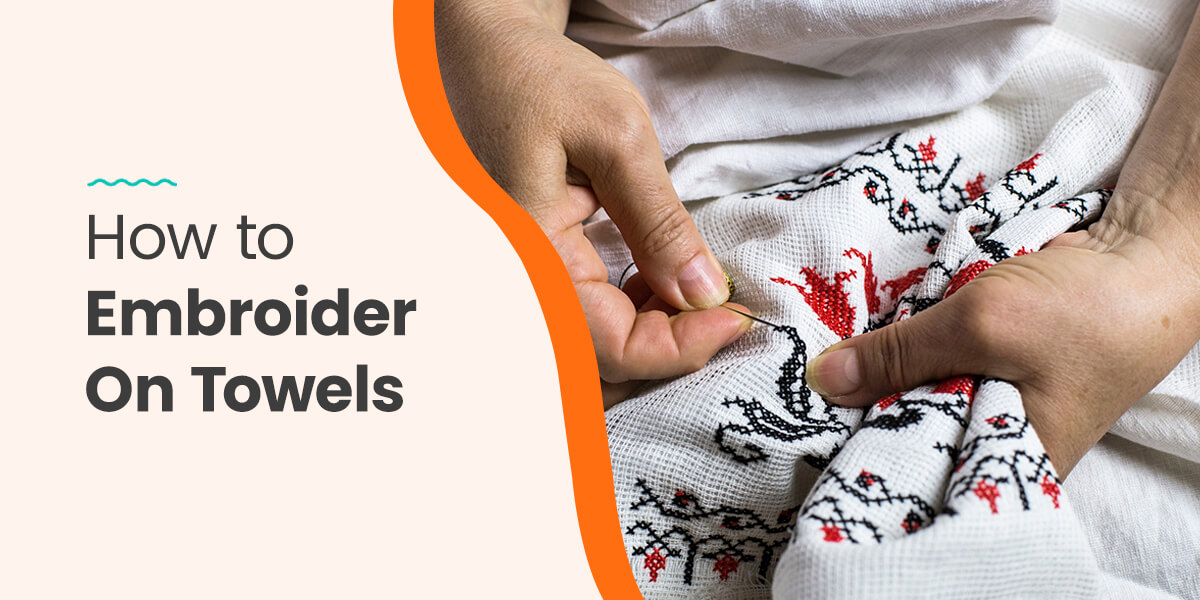
How to Embroider On Towels
Embroidering towels isn’t just stitching — it’s transforming fabric into elegance or a canvas for your creativity. Let’s look at all the steps to elevate your home with a unique touch or gift-giving with a personalized flair. Whether you’re a crafting enthusiast or taking your first stitch, our journey will guide you through embroidering towels with finesse. If you’re looking to infuse your surroundings with sophistication, you’ve come to the right place.
Understanding Towel Fabric and Types
Whether using a machine or sticking to embroidering by hand, choosing the right fabric is the key to success. Embroidering on terry cloth towels stands as the prime canvas for your embroidery dreams. With its looped design, terry cloth provides a convenient surface for stitches to nestle in, creating a delightful interplay of style and texture. Its absorbent nature makes it a perfect candidate for adding elegance and utility to your towels.
Keep terry cloth from stealing the entire spotlight. Other towel materials, like cotton and linen blends, also offer their unique charm. Cotton towels offer a smooth base for intricate designs, and linen blends bring a touch of rustic sophistication. Remember, each fabric type has quirks and qualities, so consider the design complexity and your desired aesthetic when choosing.
Necessary Tools and Materials
Picture this — you’re about to create embroidered wonders on your towels, and what’s in your arsenal? Here is the cavalry of essential tools and materials:
- Embroidery machine: Your trusty sidekick for creating intricate designs with precision. It’s like having an artist who knows your every whim.
- Stabilizers: These unsung heroes provide the foundation for your stitches, preventing fabric distortion and puckering. Tear-away for simple designs, cut-away for more intricate ones.
- Embroidery threads: A rainbow of colors awaits to breathe life into your creations. Choose polyester for durability, rayon for a silky finish and cotton for a natural touch.
- Embroidery hoop: Think of the hoop as a frame for your masterpiece. It keeps the fabric taut and steady as the machine works its magic.
- Needles: Needles are the dancers of the embroidery party. They come in various sizes with sharp points for different fabric thicknesses.
- Scissors: Snip, snip, and your design takes shape. Precision scissors are your ticket to clean edges and tidy work.
- Marking tools: Use invisible ink or water-soluble markers and guide stars to help you mark the embroidery area without leaving a permanent trace.
Preparing for Embroidering on Towels
Now that you’ve got your creative toolbox all set, it’s time to lay the foundation for understanding how to embroider a towel. Preparing for embroidery involves a pinch of design savvy and practicality.
Choosing Towel Embroidery Designs
Imagine your towel as a blank canvas and your embroidery designs as the strokes of your artistic expression. From elegant monograms that add a personal touch to intricate motifs and playful patterns, your options are as vast as your imagination.
Here’s the golden rule — match the design to the towel. For example, complex patterns might shine on smoother fabrics like cotton, while terrycloth could flaunt bold, simple motifs. This harmonious pairing ensures your embroidery doesn’t just sit on the towel but becomes an integral part.
Preparing the Towel
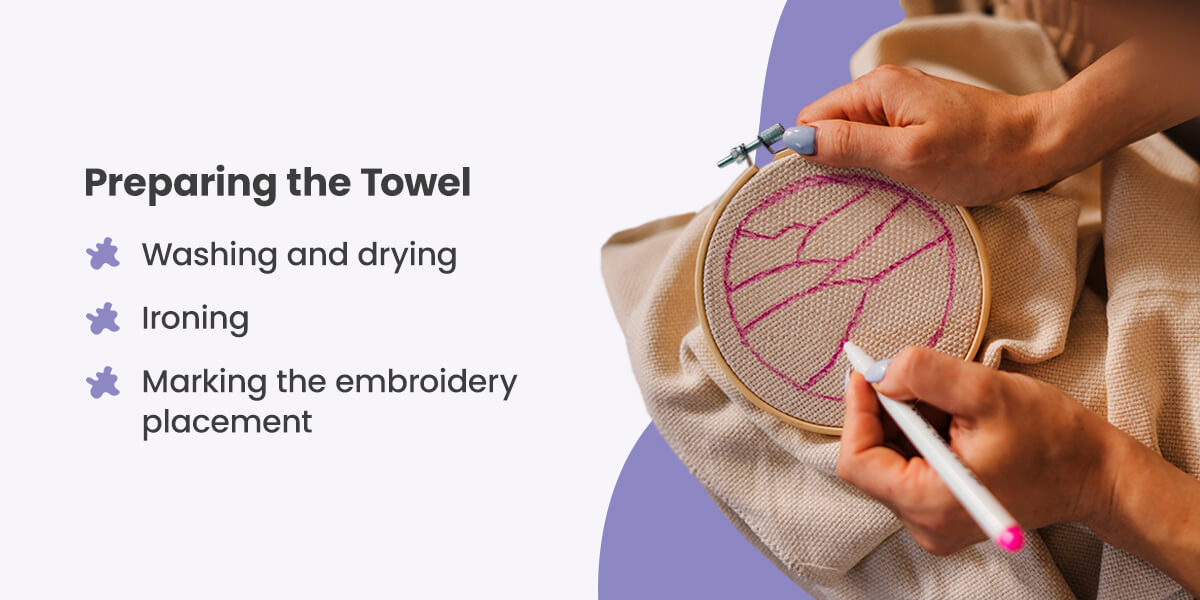
he fabric needs a little prep before the grand unveiling:
- Washing and drying: Give your towel a good wash before the stitches start dancing. This removes any residue that might interfere with the embroidery process. After a spin in the washer, let it twirl in the dryer to ensure it’s perfectly primed.
- Ironing: Smooth is the name of the game. The iron is your best friend here, ensuring the fabric surface is flat. This even surface sets the stage for flawless embroidery.
- Marking the embroidery placement: Grab your tailor’s chalk or those water-soluble markers and gently mark where your embroidery will shine. It’s like mapping the stars before embarking on a journey — precise and oh-so-important.
By taking these preparation steps, you ensure a polished outcome and set the stage for embroidery brilliance. With your chosen design in mind and your towel prepped and ready, you’re all set to wield your embroidery wand and turn those fabric canvases into personalized works of art.
How to Embroider Towels
Now comes the exciting part — transforming your towel into a masterpiece. We’re about to dive into the nitty-gritty of embroidery techniques that turn fabric into fabulous.
Hooping and Stabilizing
Hooping might sound like a circus act, but it’s the heart of successful towel embroidery. It gives your fabric a stage to shine on. Sandwich your towel and a stabilizer in the embroidery hoop. This marriage of fabric and stabilizer keeps everything steady as the machine stitches your design.
Stabilizers come in two flavors — tear-away and cut-away. If your design is a walk in the park, go for tear-away — it’s easy to remove and suits simpler designs. If you’re tackling something intricate, cut-away stabilizers offer the support you need.
Choosing the Right Thread
Threads are like the actors in your embroidery play, and you want A-list performers. Thread quality matters — the right thread is essential to the perfect embroidery project.
Here are a trio of thread options:
- Rayon: Silky and shiny, perfect for adding a touch of glamour
- Polyester: Sturdy and colorfast, ideal for durability and vibrant colors
- Cotton: A natural choice that adds texture and works well for a rustic style
Thread choice isn’t just about aesthetics — it affects how your design feels and lasts. Pick wisely, and your towel will wear its stitches with pride.
Setting Up the Embroidery Machine
Time to get your embroidery machine in on the action. Start by threading it — it’s like giving your machine a map to follow. Then, load your chosen design, and your machine becomes your loyal artist. Adjusting the tension is your secret weapon against wonky stitches. Choose the right settings for your fabric type, and your machine will stitch harmoniously with your towel.
Step-by-Step Embroidery Process
Follow these easy steps for the perfect towel embroidery experience:
- Align and hoop: Place your towel in the embroidery hoop, ensuring it’s taut and perfectly aligned.
- Starting the stitching: Hit the start button and watch the magic unfold. The machine will trace your design’s outlines for precision.
- Thread change magic: If your design uses multiple colors, here’s where you switch threads. Follow your machine’s lead and change them at the designated points.
- Handle thread breaks: Oops, a thread break! No worries. Just rethread your machine and resume from where you paused your work.
- The big reveal: Remove the towel from the hoop once the machine has finished. Handle with care to prevent any design distortion.
- Trim excess stabilizer: Your design deserves the spotlight, not excess stabilizer. Trim away the extra while keeping your embroidery intact.
- Taming residue: Excess stabilizer can make your design look unfinished. Gently clean off any lingering bits, ensuring your towel feels as smooth as it looks.
- Ironing elegance: Press the back of your embroidered design to set the stitches and ensure longevity.
Craft Your Vision with Cotton Creations

At Cotton Creations, we’re not just an online personalization store —we’re your creative partner, offering quality, customizable textile products at wholesale prices. From homeowners aiming to add a distinct touch to their spaces to business owners looking to represent their brands and crafters seeking tools to bring inspiration to life, we’re here to make your vision a reality.
Explore our wide range of competitively priced products and use our user-friendly Design Station to add that unique flair. If you’re feeling creative, reach out to us to make your embroidery dreams come true.