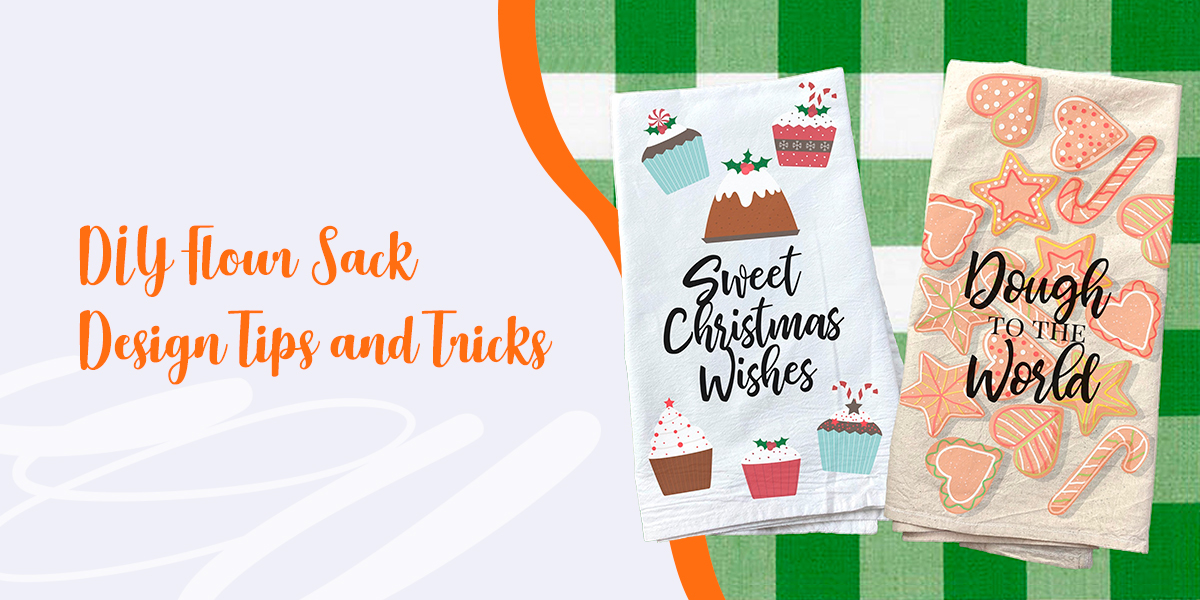
DIY Flour Sack Design Tips and Tricks
For years, flour sack towels have been a must-have item for homeowners. Used for cooking and cleaning up spills, this workhorse of a towel does it all. By customizing your towel, you can add personality to your home decor. Keep reading to learn how to print on flour sack towels in a few easy steps!
What to Decorate Your Towels With
Check out these four fantastic methods to bring your flour sack towel design vision to life:
1. Fabric Dye
Before you get started, it’s smart to pre-wash your fabric for brighter colors, cover your work area and gather the following items:
- Fabric dye
- Hot water
- Salt
- Dish soap
- Flour sack towel
- Rubber gloves
Spice Up Your Towels With Fabric Dye
The Ombre dip dye is a popular trend that’s easy and looks great. Follow these steps to create your own eye-catching DIY dish towel:
- Mix a dye packet with 1 cup of salt and 4 cups of hot water in your sink.
- Add 1 tablespoon of dish soap and 2 gallons of hot water.
- Dip one-third of the towel into the mixture.
- Soak for 10 minutes.
- Rinse your towel until the water runs clear.
- Wash and dry as usual.
2. Fabric Paint
After ironing your flour sack towel to remove wrinkles, collect the following materials for this method:
- Painters tape
- Paint brushes
- Craft acrylic paint
- Stencils
Get Creative With Fabric Paint
Use stencils to add flowers, quotes or a simple stripe and create the home accent you’ve dreamed of — the sky is the limit. Using a flat surface, follow these general steps to apply fabric paint:
- Mark out your design using a stencil or tape.
- Water down your paint.
- Paint your towel.
- Repeat the steps for the alternate side.
- Dry and wash as normal.
3. Markers
Grab a fabric marker, keep your towel taut and let your imagination run wild using the following materials:
- Pins
- Templates or printed designs
- Fabric markers
- Painters tape
Create Designs That Look Great Using Markers
Adding simple leaf or stripe designs to your plain flour towels will create a stunning farmhouse look for a fraction of the price of commercial ones. Print your design and follow these steps:
- Iron your towel to remove wrinkles.
- Tape or pin the printed design underneath the towel so that you can see the image through the cloth.
- Trace the image using markers.
- Let the towel sit for three days to dry.
4. Heat Transfer
Flour sacks are the best kitchen towels to use with heat transfer vinyl. It’s smart to practice a few times before the real deal and have the following materials on hand:
- Iron or heat press machine
- Printer or electric cutter
- Design
- Ruler
- Scissors
- Pins
- Heat transfer paper
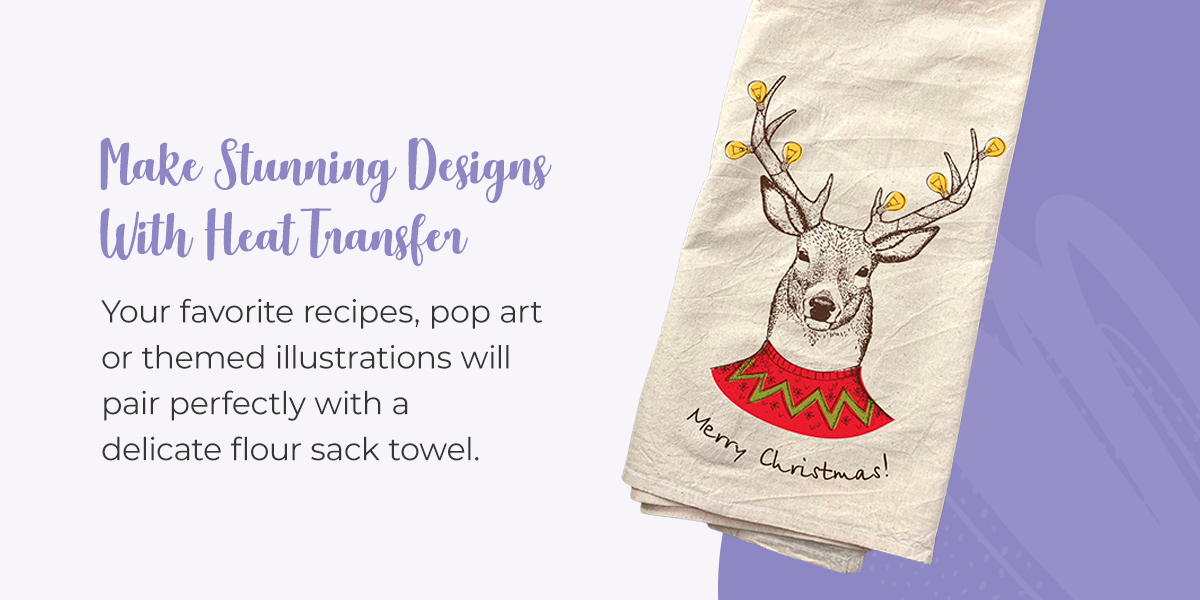
Make Stunning Designs With Heat Transfer
Your favorite recipes, pop art or themed illustrations will pair perfectly with a delicate flour sack towel. Once inspiration strikes, follow these steps to make your ideas a reality:
- Find and print your design.
- Remove wrinkles using an iron.
- Cut out the design and place face down in position.
- Press with a heated iron.
- Peel off the plastic backing.
- Enjoy!
Let Cotton Creations Make Your DIY Crafting Easier
Cotton Creations is here to help you tackle DIY dish towel creations. We are proud to supply you with high-quality flour sack towels available online in lightweight, mediumweight and heavyweight options. Craft to your heart’s desire with these towels. Or, if you would prefer to let professionals handle the project, check out our Design Studio and have your design created in just a few clicks – no craft supplies necessary! Order your next flour sack towel with Cotton Creations today!